Friday, August 21, 2015

Crafts: How To Make Large Paper Flowers


 Recently we had a baby shower for a friend, held at my sister's house. For decor she wanted large, really large, paper flowers. Here is a tutorial on how to create them:

Supplies:
Tons of 8.5 x 11" craft paper
glue gun
pencil
scissors


Step 1: Creating the Leaves:
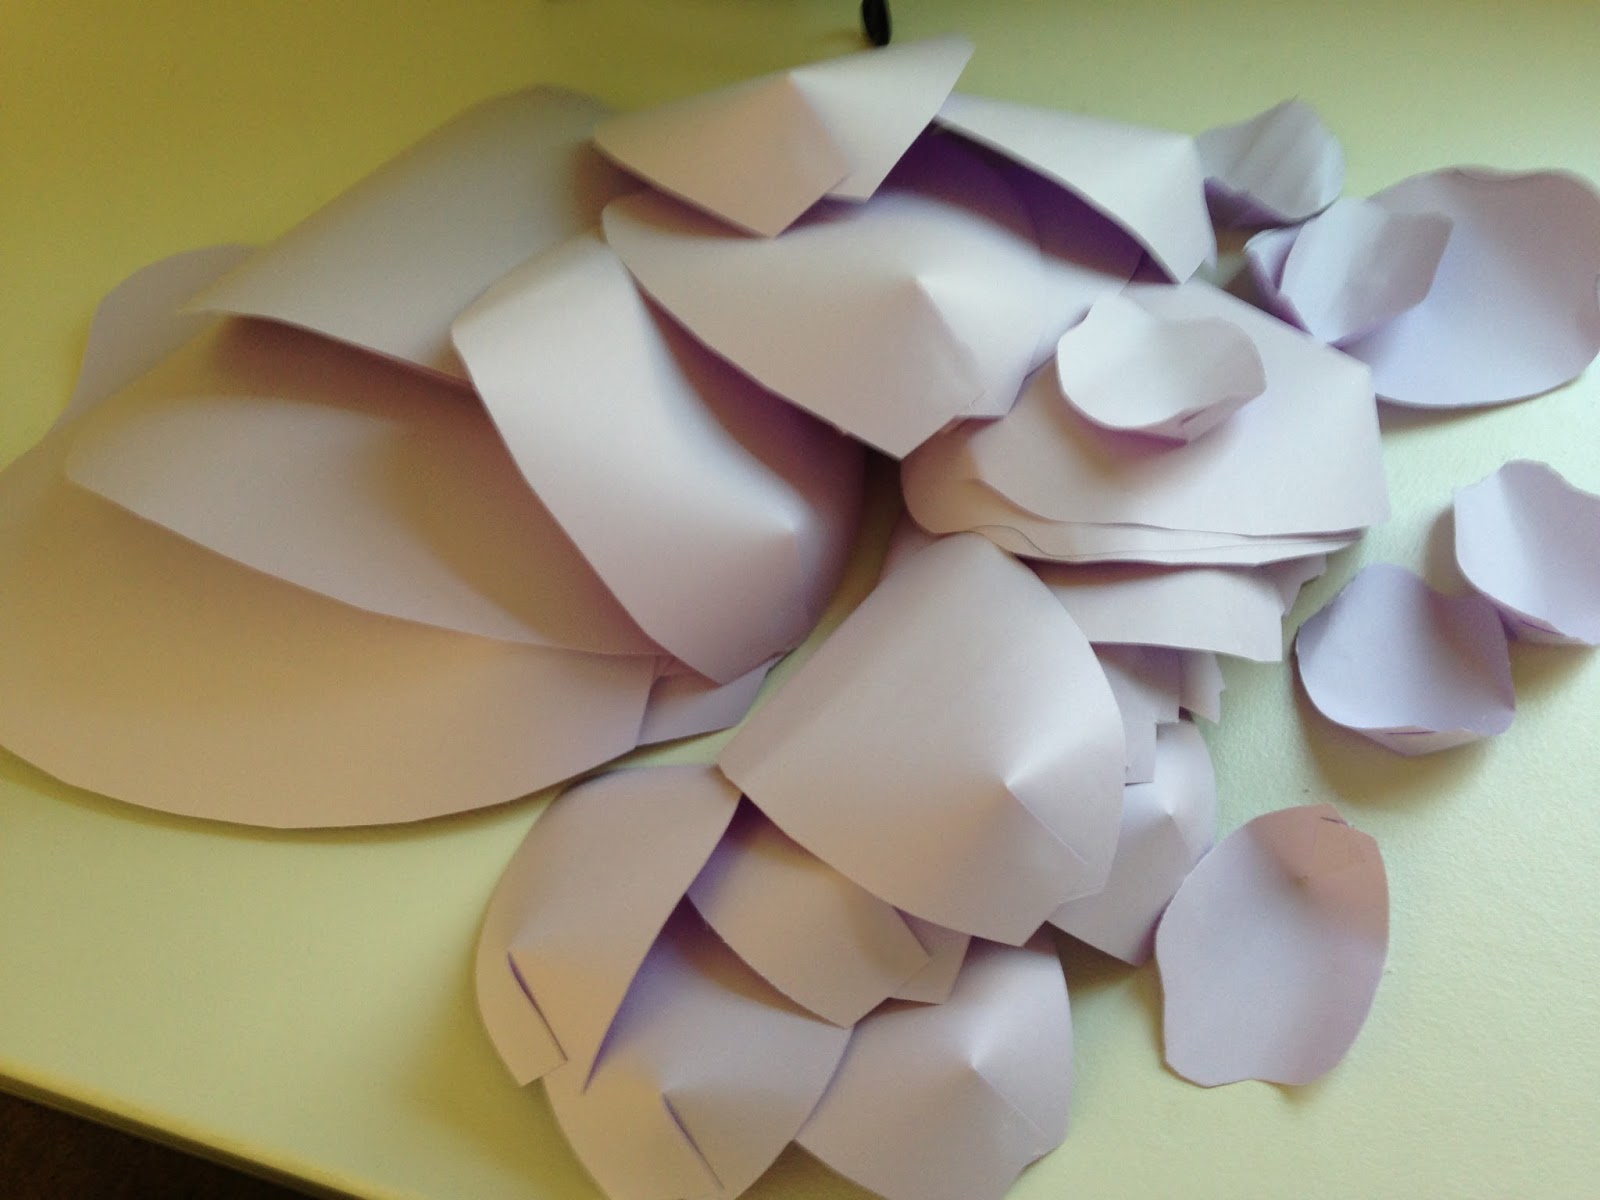
There are several sizes of petals, ranging from the largest at almost the entire size of the 8.5x11" paper, down to the smallest at about 3-4". I started by making the largest petals first, I sketched out a petal onto a sheet of paper and cut it out. 


I then used this template to cut out 7 more of this size.

For the next size down I sketched out a petal half the size of the paper, folded it in half and cut out those two as templates


I then cut out 4 more, totaling six.

For the next size I sketched out a petal about a third of the size of the 8.5 x 11 paper, I then folded it and cut out three petals.

I cut out three more, totaling six.


For the last smallest size I folded the paper into thirds then in half, to make six small squares and sketched out a petal in one of these squares, refolded and cut out the six petals.


Step 2: Curl the Petals:
To give the flower a more realistic looks you need to curl the petals. I just rolled starting from the top of the petal inward (you can do some flowers all rolled outwards, or vary the petals so some go in and some go out).


Step 3: Cut out the Base:

The petals will all be glued to a circle base. This should be about 6-7" in diameter:


Step 4: Make the Petals 3D:

The petals need to be cut and glued to give more depth to each petal. To do this you cut about 2-3" from the base of the petal straight up towards to top of the petal, dead center.

Then overlap the slit pieces to make the petal start to curve out, use the hot glue to glue the ends in place.


Repeat this for all the petals except for one of the smallest petals.


Step 5: Make the center petal:

Using the one smallest petal that you did not make 3D, roll it up starting from the left to the right, glue to hold the roll in place.

Step 6: Glue on the Petals:

Starting with the largest petal first, glue each petal to the circle base, overlapping slightly. (I chose to glue it so the curve is inwards, we made some so the curve goes out, it is up to you)


Now glue the next largest petals inside the largest, spacing the petals so they are off center from the largest.
Continue this with each additional size of petals.


In the very center glue the center piece you created

That's it!


These are very easy to pin on the wall, just use one pushpin in the center of the flower.


Friday, May 1, 2015

May: Pixar Themed Display

We were very lucky to have Nathan Stanton, Story Supervisor for Pixar, come to our school to give a talk about the work he has done at Pixar. He was fascinating, showing clips from Monsters Inc., Cars 2, The Nightmare Before Christmas, Finding Nemo, A Bug's Life and more! Inspired by his visit I created a Pixar themed display.


As you can image this took a long time to create. I separated out each character into layers and cut the pieces out using the Silhouette Cameo, then I glued all the pieces together.


For the Up! border I found some clip art of patches and arranged them into two rows.
For the Monster's Inc border I used the flower symbol in Photoshop and created flowers in various sizes and colors to mimic Boo's door.

For the birds at the top of the display I created three different type of eyes to give the birds different looks and when I taped them to the bookshelf I varied the different bird designs to make them look as unique as possible.

Behind the cars shelf I created a desert scene using two shades of brown and one of orange. I made Mater and McQueen using the Silhouette Cameo and the layering as I mentioned above, I also included the car that was inspired by Nathan Stanton.

At the very bottom of the display I added Wall-E and A Bug's Life, cutting out grass and creating a caution border as seen on Wall-E.

Here are the desert files if you want to trace and cut them out or use them with the Silhouette Cameo:
 Orange desert files:


Dark Brown Desert files:


Army Men file:
 
Mine Bird files:


Mine Birds Wooden Post files:


Wednesday, April 15, 2015

April: Black Lives Matter Display


Our students are discussing and embracing the Black Lives Matter movement. One of our teachers asked if the library could create a display around this topic, showcasing the books that we have on these issues.

I created a very simple display, using black and red as the display colors (you can find information about the movement here).

I cut out text using the Silhouette Cameo, if you look closely you will see that the text contains several names associated with this movement, I did not create this text, you can find it here.


I completed the display with several photos I found online representing the movement.