Showing posts with label birthday party. Show all posts

Friday, August 21, 2015

Crafts: How To Make Large Paper Flowers


 Recently we had a baby shower for a friend, held at my sister's house. For decor she wanted large, really large, paper flowers. Here is a tutorial on how to create them:

Supplies:
Tons of 8.5 x 11" craft paper
glue gun
pencil
scissors


Step 1: Creating the Leaves:
There are several sizes of petals, ranging from the largest at almost the entire size of the 8.5x11" paper, down to the smallest at about 3-4". I started by making the largest petals first, I sketched out a petal onto a sheet of paper and cut it out. 


I then used this template to cut out 7 more of this size.

For the next size down I sketched out a petal half the size of the paper, folded it in half and cut out those two as templates


I then cut out 4 more, totaling six.

For the next size I sketched out a petal about a third of the size of the 8.5 x 11 paper, I then folded it and cut out three petals.

I cut out three more, totaling six.


For the last smallest size I folded the paper into thirds then in half, to make six small squares and sketched out a petal in one of these squares, refolded and cut out the six petals.


Step 2: Curl the Petals:
To give the flower a more realistic looks you need to curl the petals. I just rolled starting from the top of the petal inward (you can do some flowers all rolled outwards, or vary the petals so some go in and some go out).


Step 3: Cut out the Base:

The petals will all be glued to a circle base. This should be about 6-7" in diameter:


Step 4: Make the Petals 3D:

The petals need to be cut and glued to give more depth to each petal. To do this you cut about 2-3" from the base of the petal straight up towards to top of the petal, dead center.

Then overlap the slit pieces to make the petal start to curve out, use the hot glue to glue the ends in place.


Repeat this for all the petals except for one of the smallest petals.
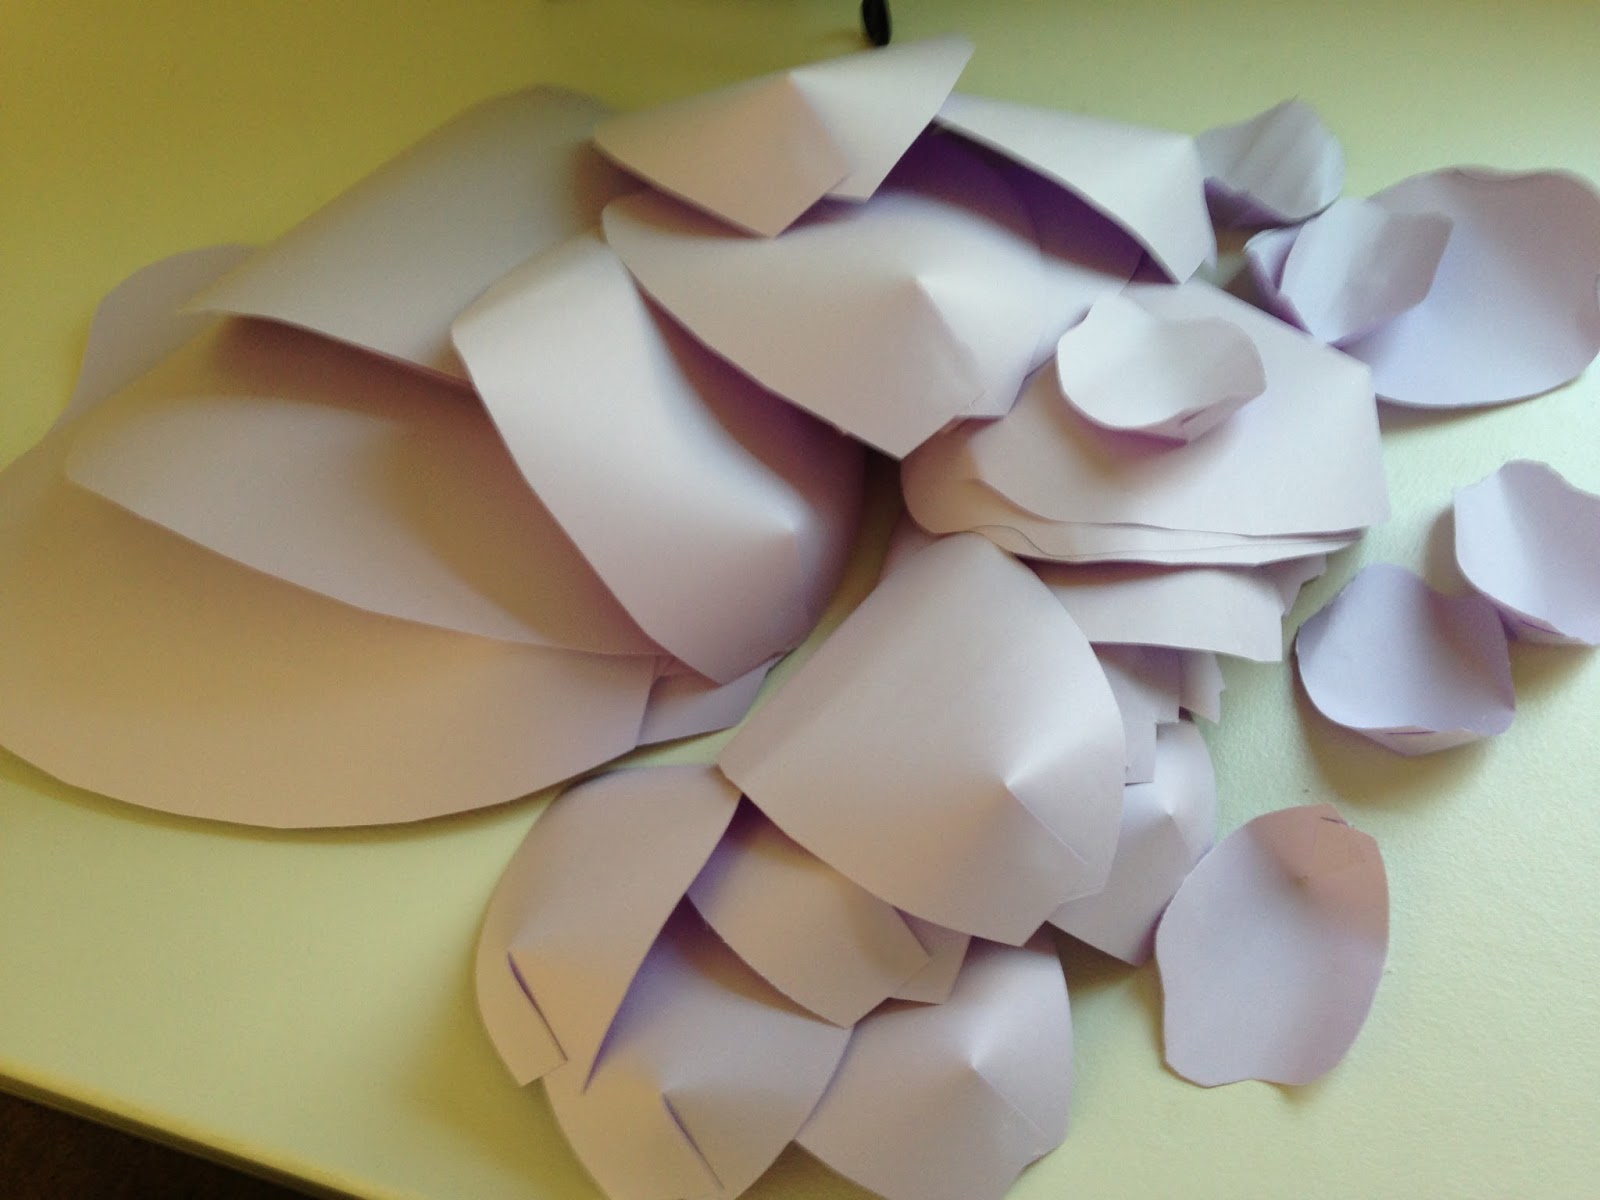


Step 5: Make the center petal:

Using the one smallest petal that you did not make 3D, roll it up starting from the left to the right, glue to hold the roll in place.

Step 6: Glue on the Petals:

Starting with the largest petal first, glue each petal to the circle base, overlapping slightly. (I chose to glue it so the curve is inwards, we made some so the curve goes out, it is up to you)


Now glue the next largest petals inside the largest, spacing the petals so they are off center from the largest.
Continue this with each additional size of petals.


In the very center glue the center piece you created

That's it!


These are very easy to pin on the wall, just use one pushpin in the center of the flower.


Sunday, March 9, 2014

Crafts: DIY Paper Bird


How to make a paper bird:

Last year I ran across a post on Pinterest on how to make a curly paper bird. (You can find the instructions on Spoonful). The birds turned out very cute and I used them to decorate a summer themed display.
This year I wanted to make a different bird, preferably one with wings. I searched Pinterest and I was unable to find a bird that I liked or if I did like a bird it was too complicated for me to make. So I came up with my own bird, here are the instructions, I hope you like it!

What you will need:
construction paper: you can use multi-colored or make the bird all one color, you will need a separate color for the beak.
tape
staples
stapler
scissors
printer (If you want to use my wing and tail template)

I began by tracing out wings for the bird. You can make your own wings or print out my wing template (you will need to cut out two, if you are making a smaller or larger bird you can scale the image using your print preview settings):

I then cut out 2" strips from matching colored construction paper. If you want to make your bird multicolored you would want to cut at least one 2" strip from an alternate color. (The body can have up to 3 circles and the head 2) The longest body strip was 7", the longest head strip was 4"

I wanted the bird's head and body to have the curly circles like the bird from Spoonful, to achieve this you need to cut the center circle strips for the body and head approx 1" shorter than the outer circle strips.

Beginning with the inner most circle strip for the body, roll up the strip and tape the ends together. Then roll up the next strip and tape it to the inner circle.
Once you have completed the body you can roll up the head following the same steps.

For the tail I used three layers, I just cut a shape that seemed like a tail to me. You can follow this template (I would alternate the layers, maybe make the center layer only have two curves)
To give the wings a 3D effect, I rolled the tips of the wings up and stapled them together. Here are pictures to explain better:


I then put the bird together, I tape the head onto the body by folding up a small piece of tape. I then taped the tail onto the body. For the wings I inserted the stapled part into the body (between the outer most circle and the middle circle) and then I stapled it onto the body. (I backed it up with a small piece of tape. The last thing I did was make the beak. I cut out a hourglass shape from orange construction paper and then I taped the ends together. I folded up a small piece of tape and taped the beak onto the head.

I bent the tail and wing feathers so they would have a more 3D effect. I then taped the bird to the display and I think it gives the illusion that the bird is flying.
I hope you will be able to use these instructions to make your own paper birds!