Showing posts with label bride. Show all posts

Friday, August 21, 2015

Crafts: How To Make Large Paper Flowers


 Recently we had a baby shower for a friend, held at my sister's house. For decor she wanted large, really large, paper flowers. Here is a tutorial on how to create them:

Supplies:
Tons of 8.5 x 11" craft paper
glue gun
pencil
scissors


Step 1: Creating the Leaves:
There are several sizes of petals, ranging from the largest at almost the entire size of the 8.5x11" paper, down to the smallest at about 3-4". I started by making the largest petals first, I sketched out a petal onto a sheet of paper and cut it out. 


I then used this template to cut out 7 more of this size.

For the next size down I sketched out a petal half the size of the paper, folded it in half and cut out those two as templates


I then cut out 4 more, totaling six.

For the next size I sketched out a petal about a third of the size of the 8.5 x 11 paper, I then folded it and cut out three petals.

I cut out three more, totaling six.


For the last smallest size I folded the paper into thirds then in half, to make six small squares and sketched out a petal in one of these squares, refolded and cut out the six petals.


Step 2: Curl the Petals:
To give the flower a more realistic looks you need to curl the petals. I just rolled starting from the top of the petal inward (you can do some flowers all rolled outwards, or vary the petals so some go in and some go out).


Step 3: Cut out the Base:

The petals will all be glued to a circle base. This should be about 6-7" in diameter:


Step 4: Make the Petals 3D:

The petals need to be cut and glued to give more depth to each petal. To do this you cut about 2-3" from the base of the petal straight up towards to top of the petal, dead center.

Then overlap the slit pieces to make the petal start to curve out, use the hot glue to glue the ends in place.


Repeat this for all the petals except for one of the smallest petals.
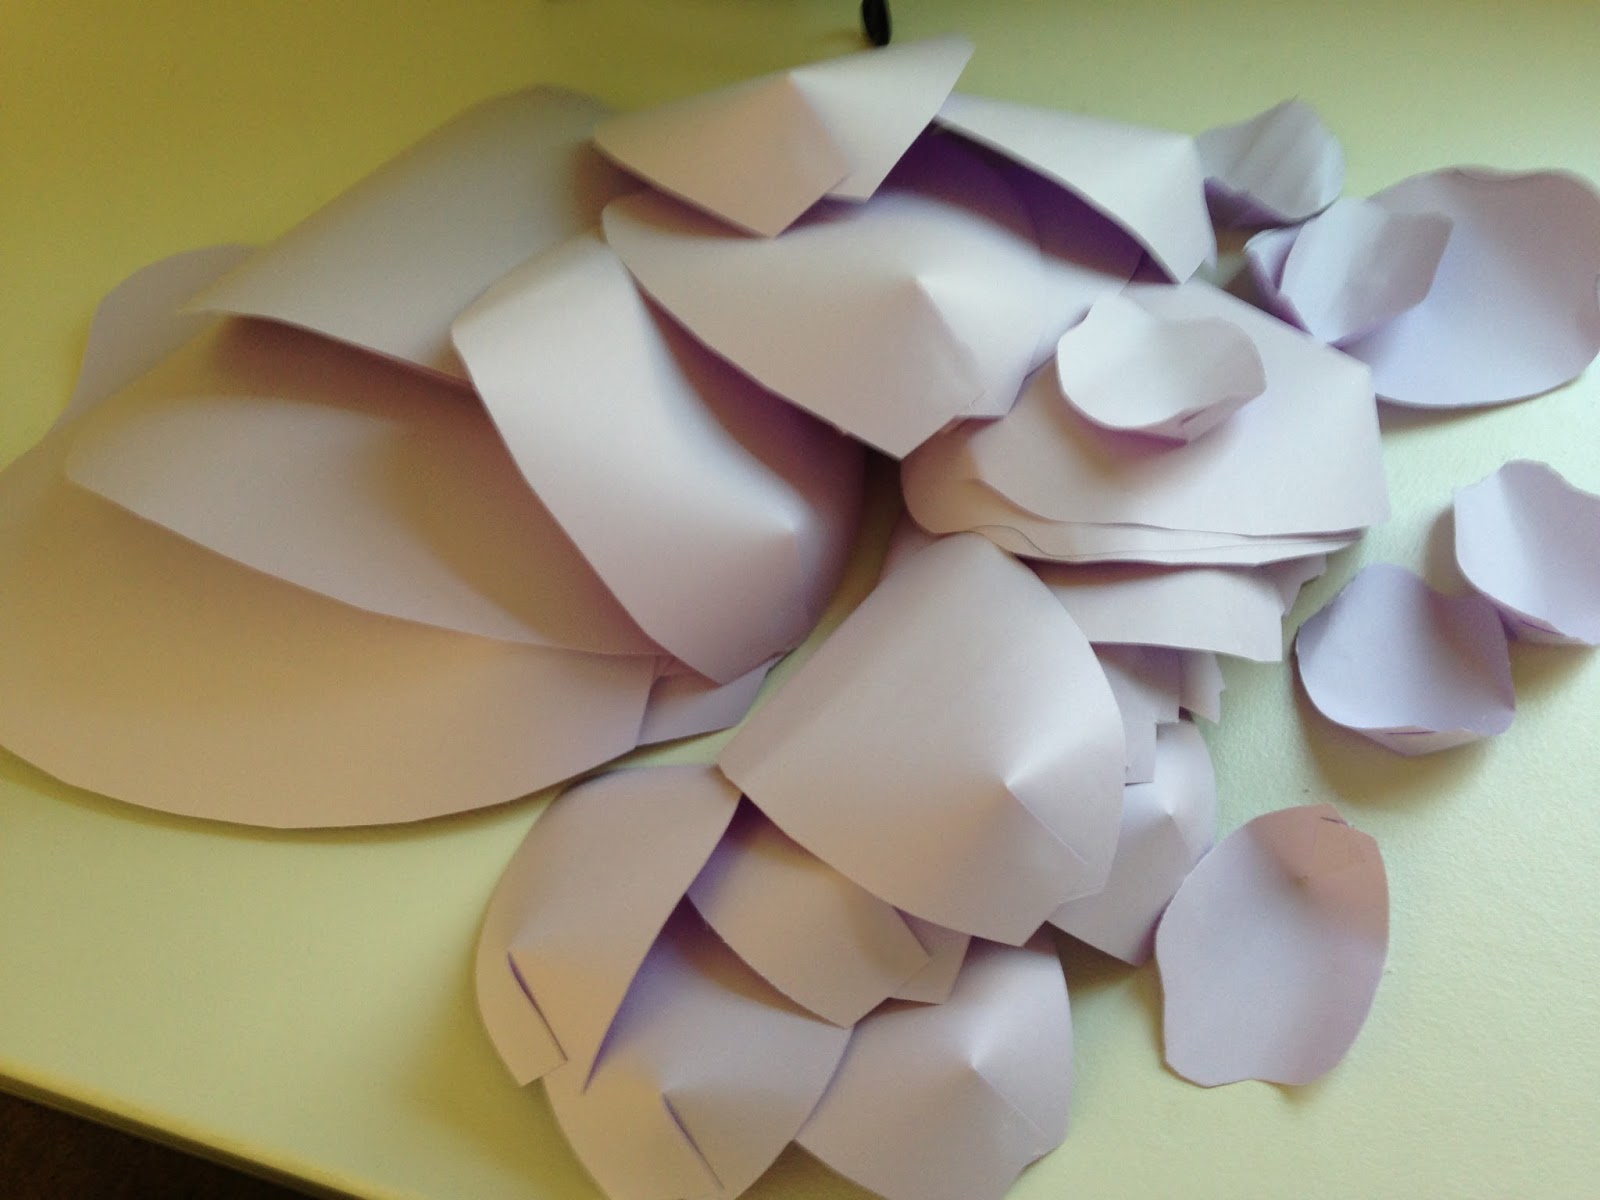


Step 5: Make the center petal:

Using the one smallest petal that you did not make 3D, roll it up starting from the left to the right, glue to hold the roll in place.

Step 6: Glue on the Petals:

Starting with the largest petal first, glue each petal to the circle base, overlapping slightly. (I chose to glue it so the curve is inwards, we made some so the curve goes out, it is up to you)


Now glue the next largest petals inside the largest, spacing the petals so they are off center from the largest.
Continue this with each additional size of petals.


In the very center glue the center piece you created

That's it!


These are very easy to pin on the wall, just use one pushpin in the center of the flower.


Monday, August 25, 2014

Crafts: Tissue Paper Wisteria

My sister is getting married and I wanted to create unique decor for her Bridal (wedding) shower. I found a post on pinterest for "wisteria" made out of tissue paper. It looked fun and easy to do, so I thought I would give it a try. You can find instructions on the Land of Nod blog here and on Vintage Homemaking here. The process is not that difficult but I will explain step by step how I made my wisteria decor.

Step one: Purchase various colors of tissue paper. I found it looked best when you had at least three colors on each wisteria "plant." I did mix up the colors and do a few with only two colors and even a few solid colors, but overall the ones with three colors looked the prettiest.
Step two: Take a sheet of tissue paper and starting on one side fold up the paper into long rectangles about 2" wide. (You will adjust the size of the rectangles depending on what size petal you want to make, the largest being about 2-2.5" and the smallest being about 1".
Step three; after you have folded your paper and have one very long rectangle you want to start folding the rectangle into smaller squares about 2" wide as the picture shows. You will end up with one very bulky 2" by 2" (approx) square.
Step four: cut out a hot air balloon shape from the square. This is difficult because there are so many layers but don't worry about it being a perfect shape, just be sure you have cut all the way through,  so each "balloon" is separate and no longer attached to the one beneath it.
Step five: take one balloon and twist the bottom square side together to form a little twist.
Step six: fold the twist into the center of the balloon/ round part.
 
Step seven: pinch the area where you just folded up the twist. This will help keep the twist folded into round part and form a petal.
Step eight: Using fishing line and a large needle thread your pre-made petals together. You can choose to either start with the smallest petals first and work up to the largest. Or you can start with the largest and work down. I mixed up each of my wisteria to give it a unique look.


Tips: I found it was easiest to make all the petals first before I started threading any together. I got a few paper plates and filled each with different sizes and colors of petals for easy access.


Don't throw away scraps from the larger petals. The folded part that you cut off can be used to make really tiny petals. They will be a strange shape, but since they are so tiny when you go to pinch them to create the petal they end up looking just fine.
I found the longer the wisteria the prettier it looked when hung on a large tree. It worked best to fill up about 2/3 with large petals and then go on to add medium small and tiny petals.